CASE 12: Revision of a loose acetabulum due to adverse reaction to metal debris, using a custom 3D-printed cup
The Story
“The patient is a an 87-year old lady with a 3-month history of right sided hip pain. Seven years prior, she received a right-sided revision THR, which used a Restoration stem, a large diameter head, polyethylene liner and a titanium socket
At the time of presentation, the pain prevented her from walking and she had been using a wheelchair. Standing was very uncomfortable and movement of the joint in all planes caused pain
In addition, the patient presented with cellulitis in the right leg. Blood cobalt = 8.7ppb and blood chromium = 0.8ppb. The raised cobalt in the context of a large diameter head and a tapered stem suggests there is corrosion at the taper
The CRP was 90 at the time of presentation, likely due to the cellulitis, as the right hip aspiration was negative for infection.”
The Evidence


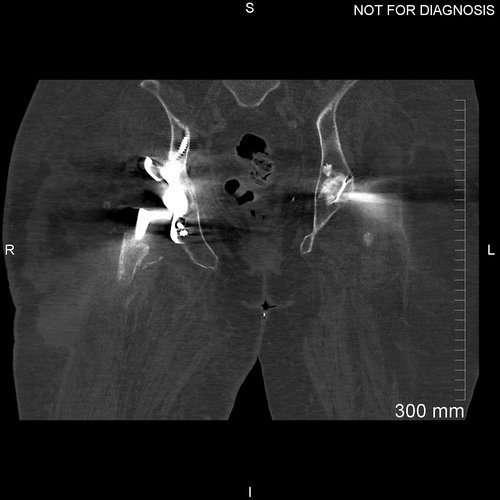
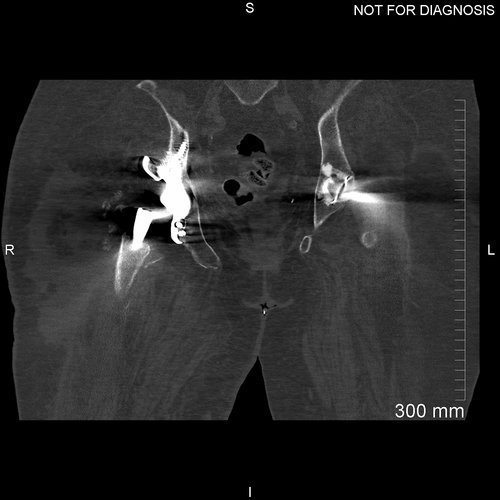
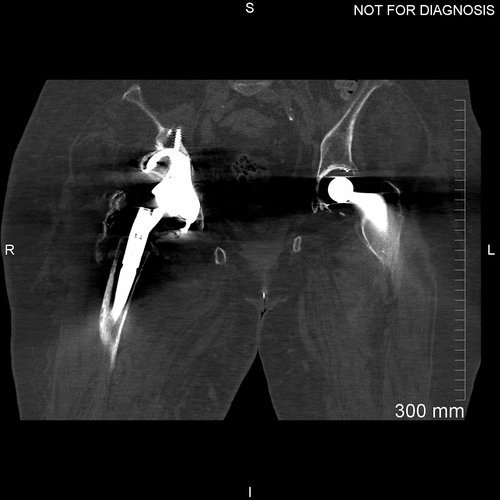
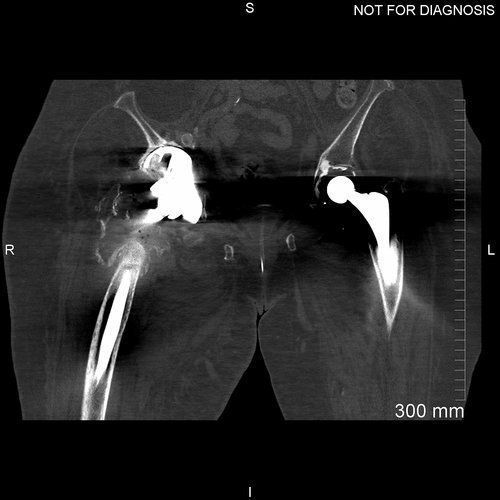
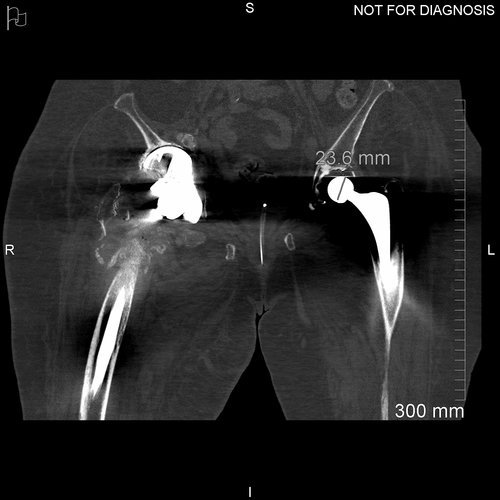
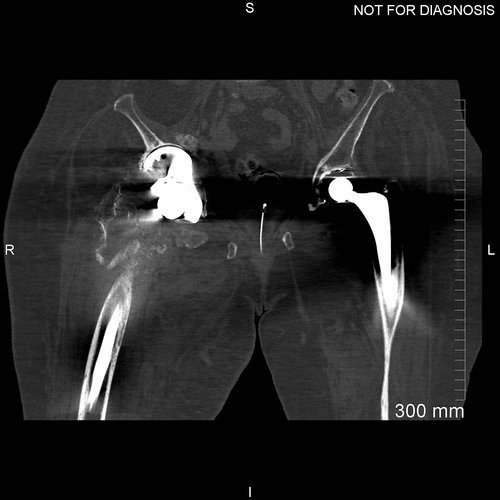
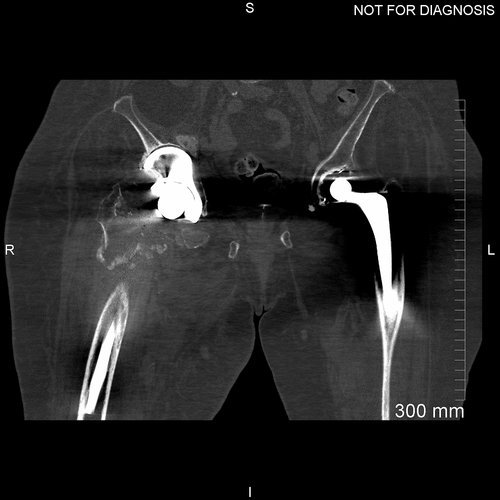
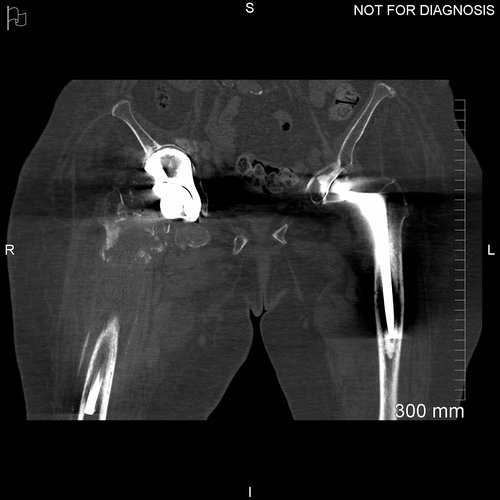
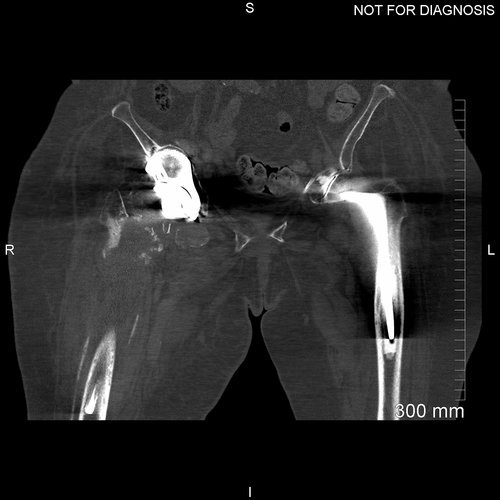
Comparison of the routine radiograph to the pre-op radiograph taken three years apart reveals osteolysis of the pubis and a change in the orientation of the right hip acetabulum suggesting loosening.
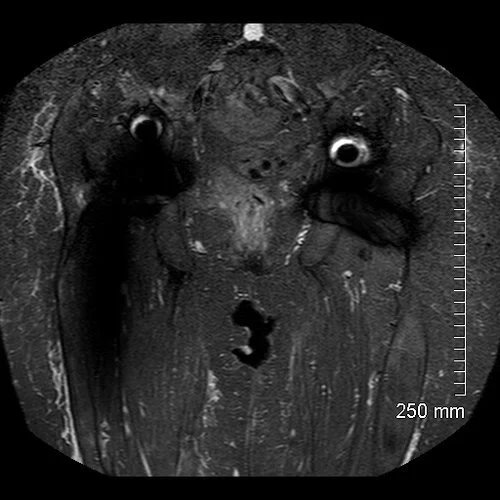


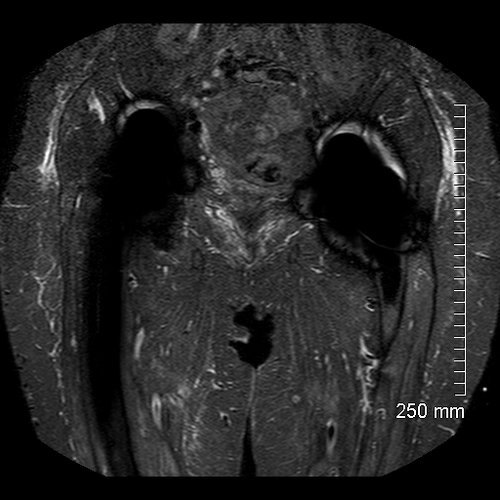
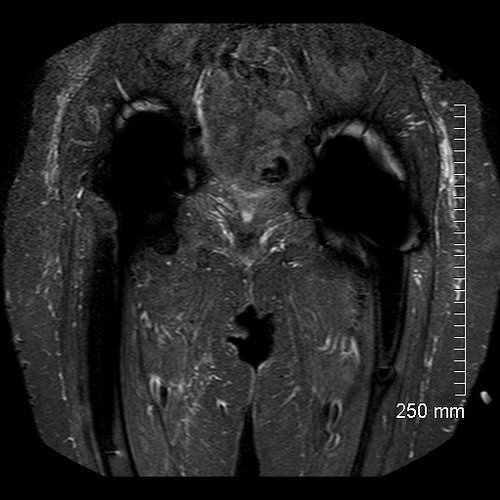
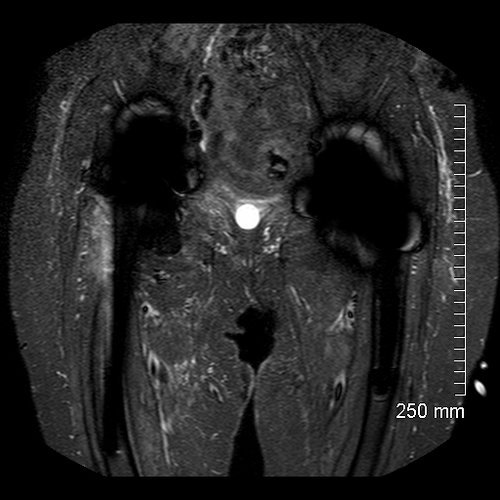
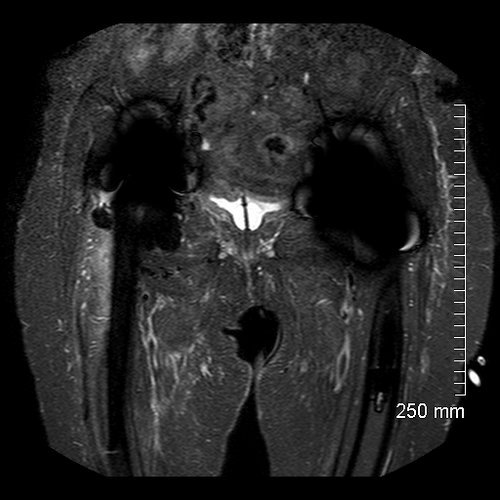
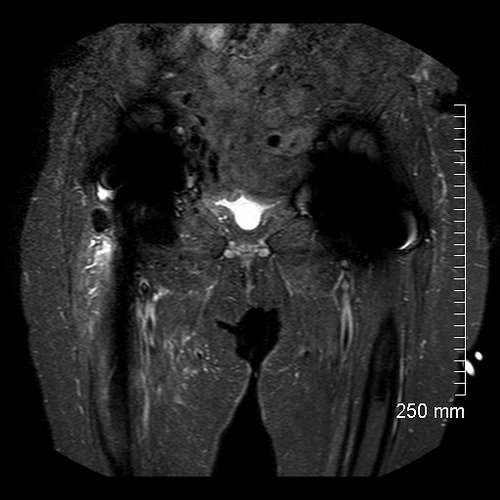
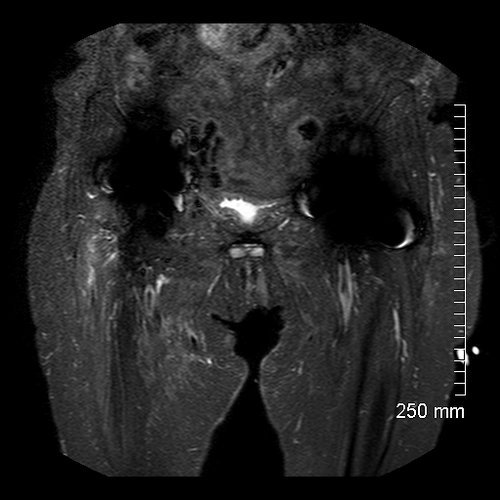
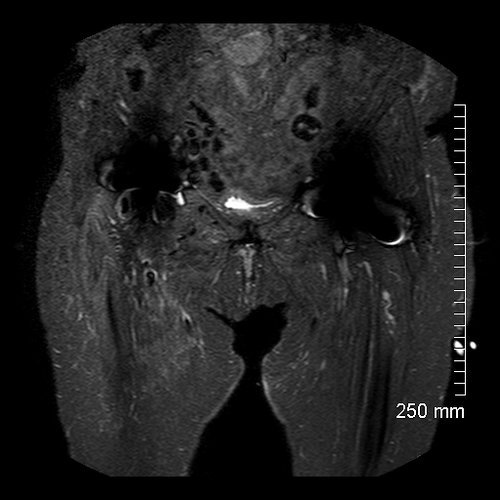
This pre-operative MRI scan reveals soft tissue destruction surrounding the right THR.
The Diagnosis
Non-infected loosening of the acetabular component due to metallosis from likely taper corrosion causing osteolysis.
The Plan
A 2-stage hip revision:
Remove the original acetabular component and the head from the femoral component in the first stage of the procedure
Followed by a CT scan to design and plan a custom acetabular component

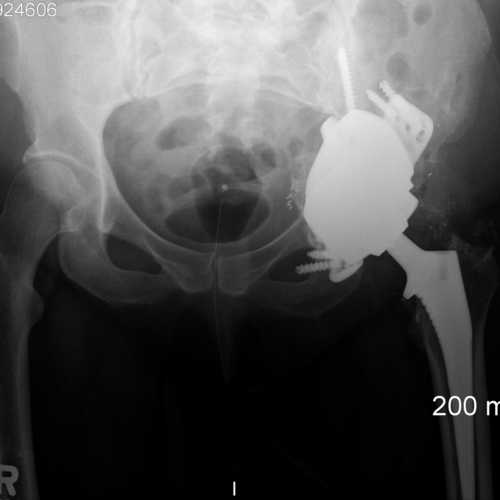
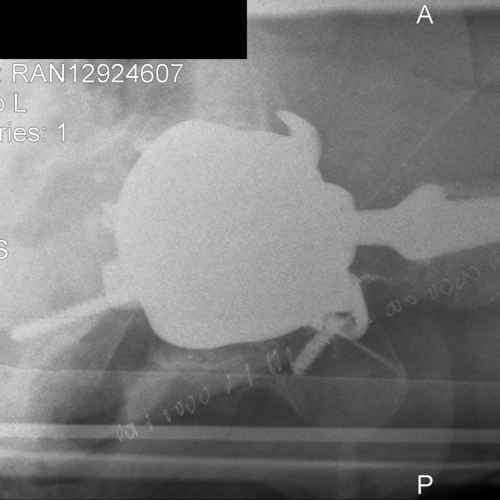
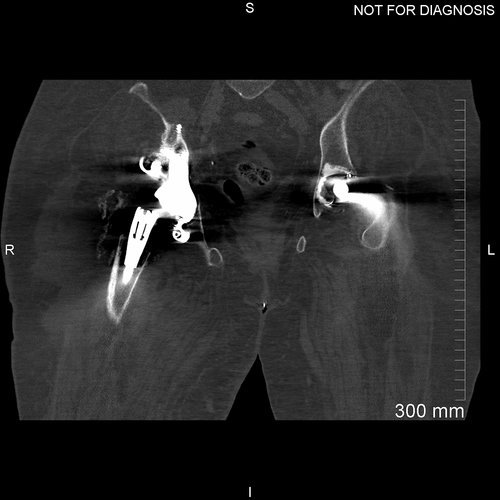
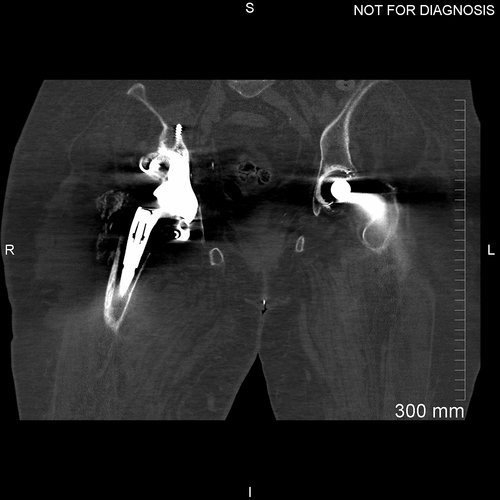
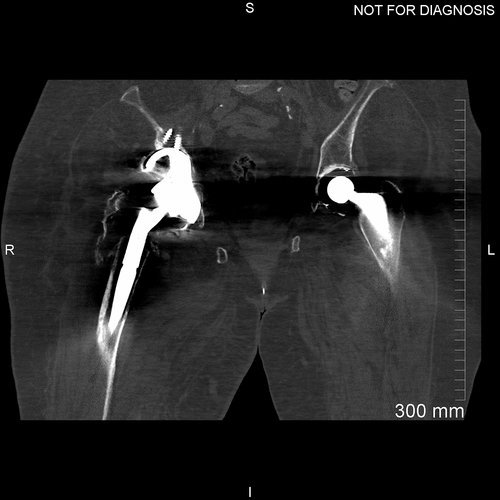
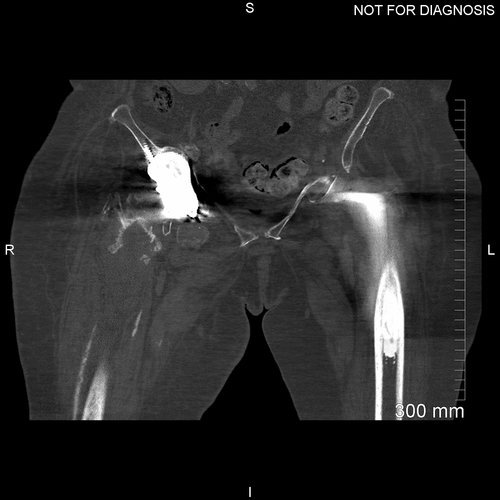
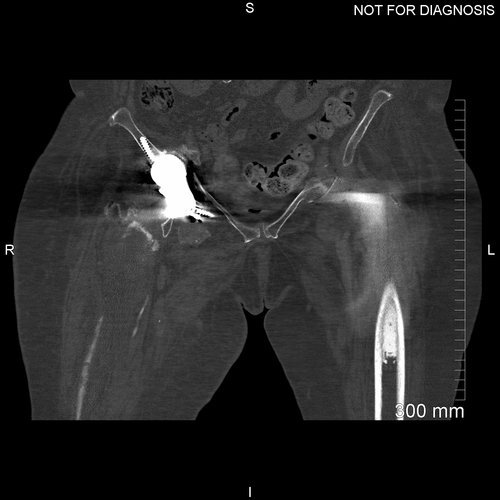
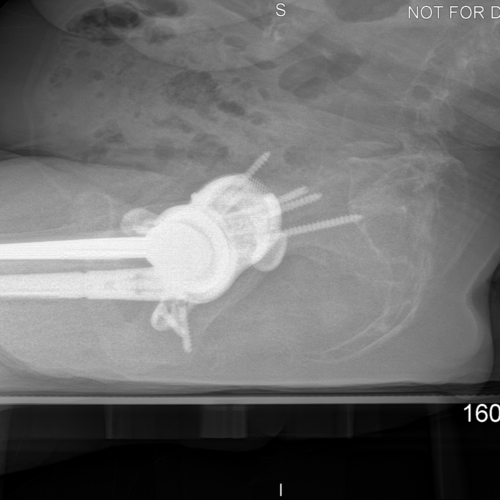
This radiograph was taken after the first stage operation, where the acetabular component was removed along with the femoral head from the revision stem
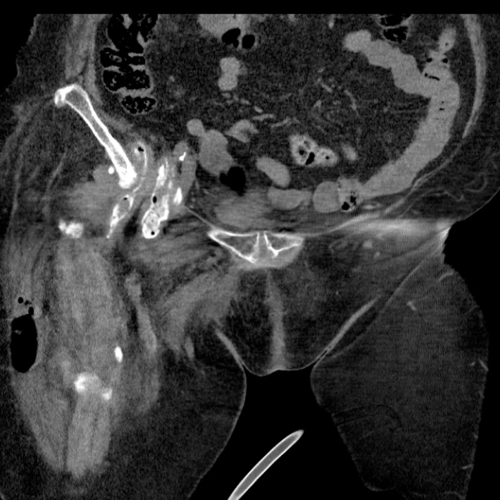
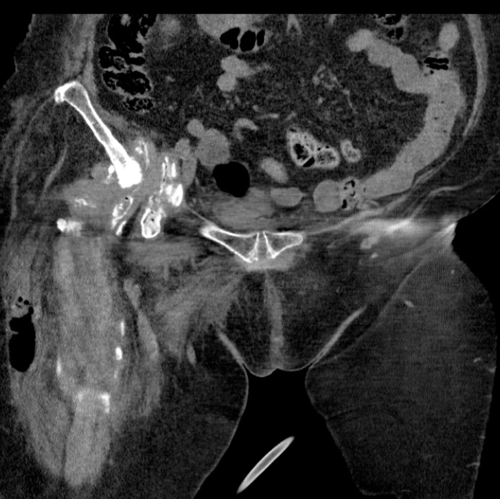

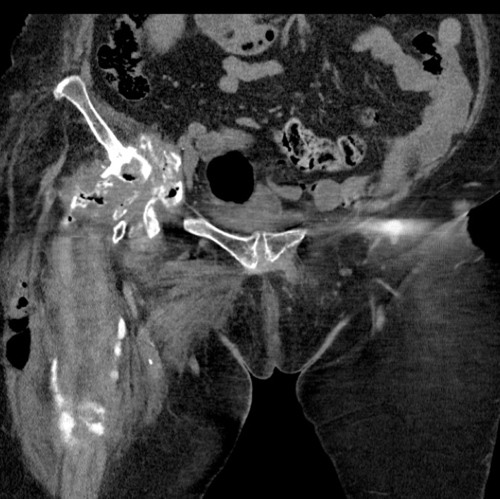
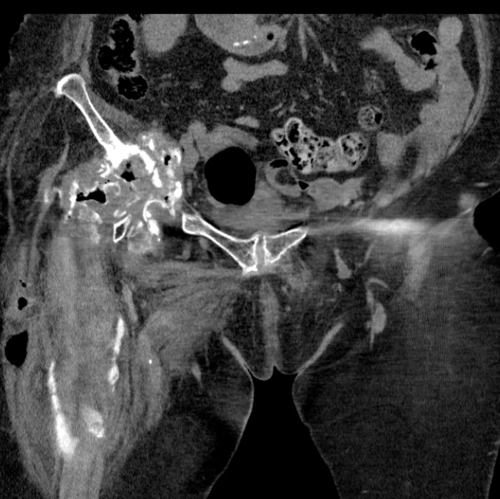
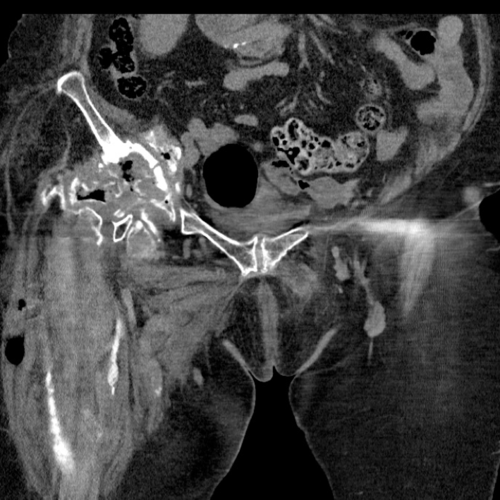
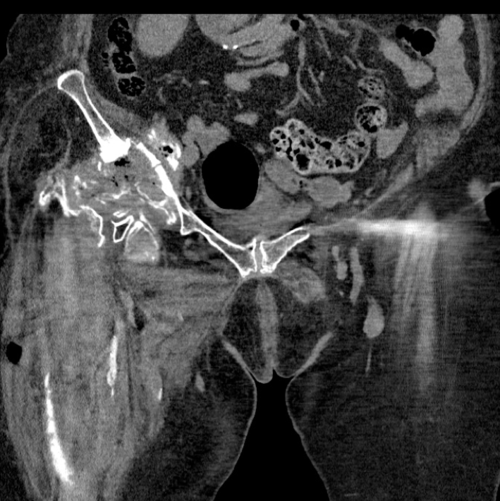
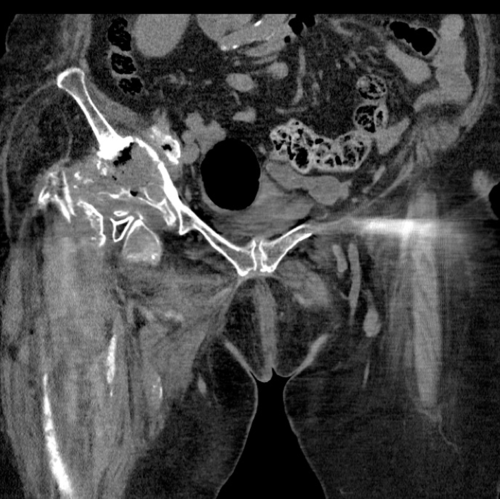
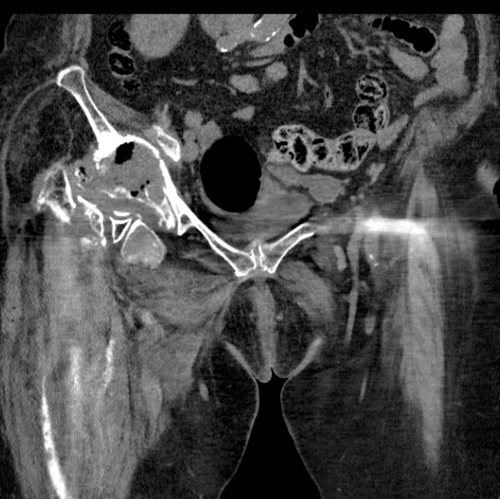
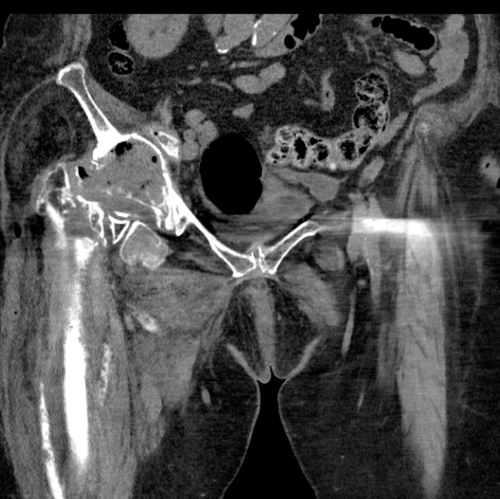
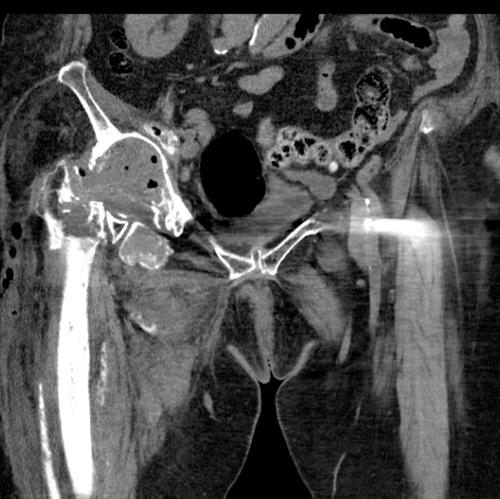
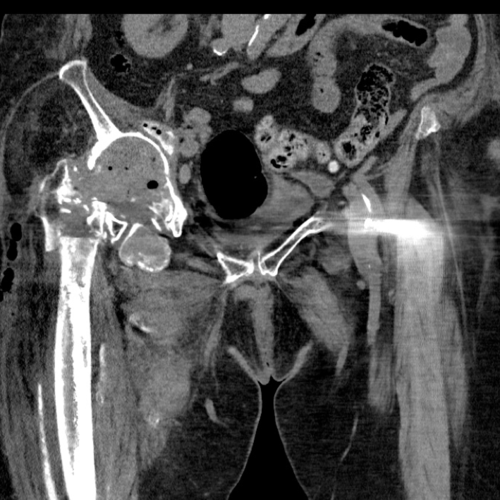
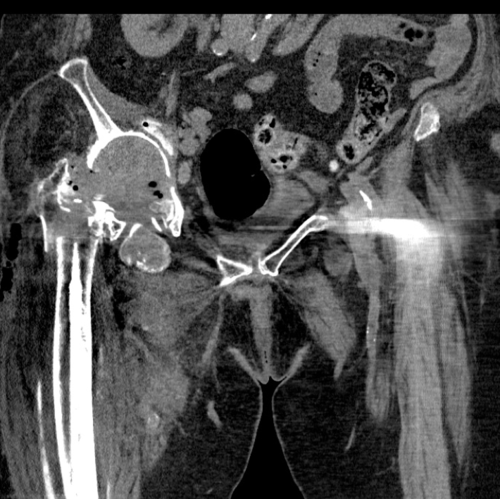
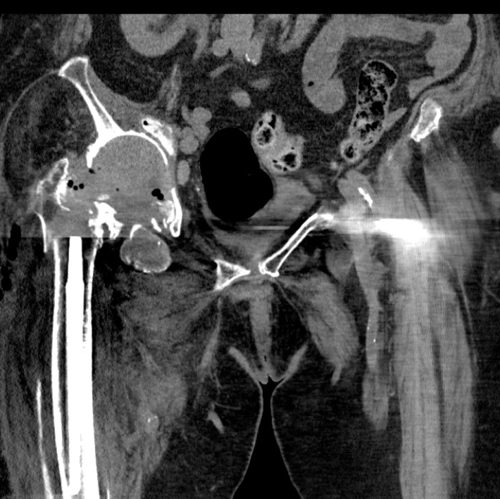
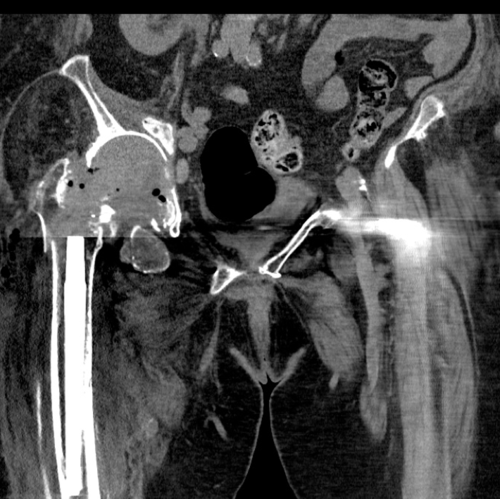
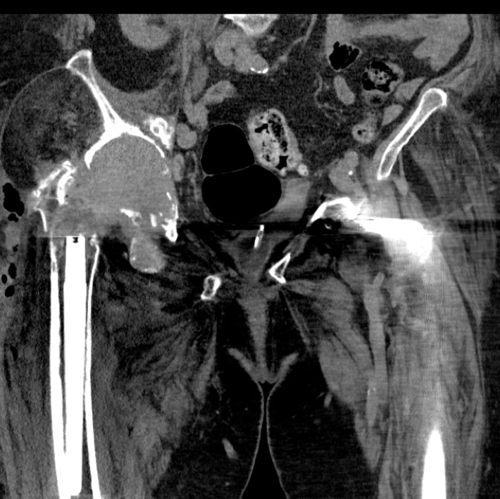

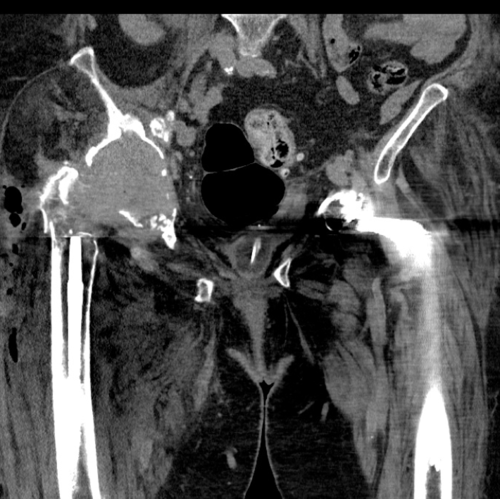
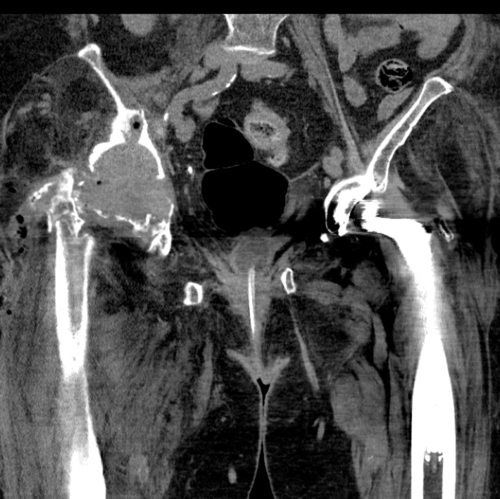
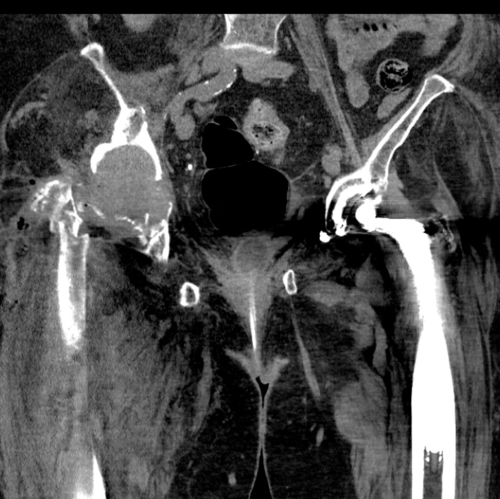
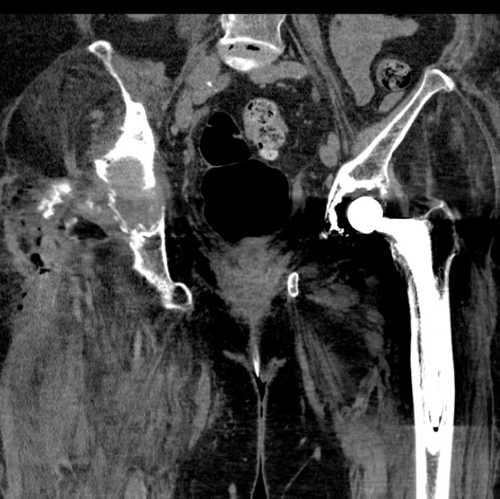
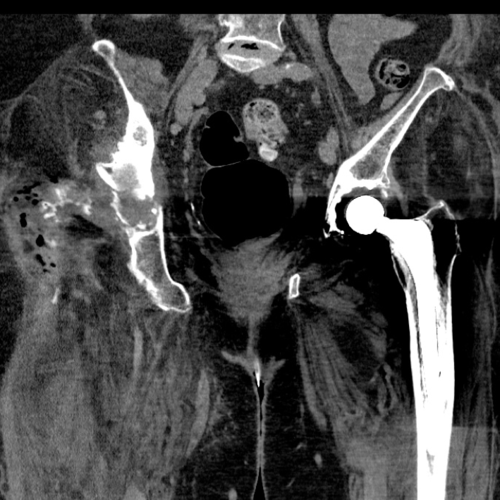

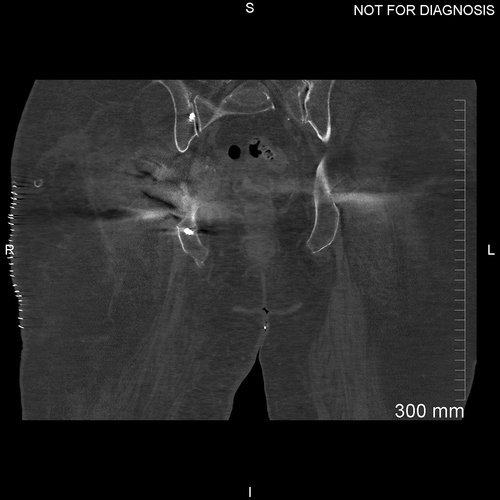
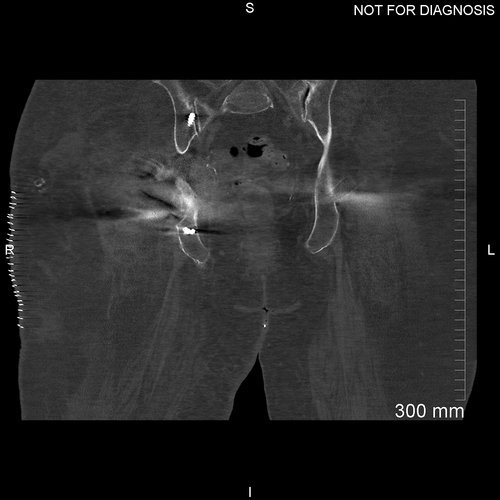
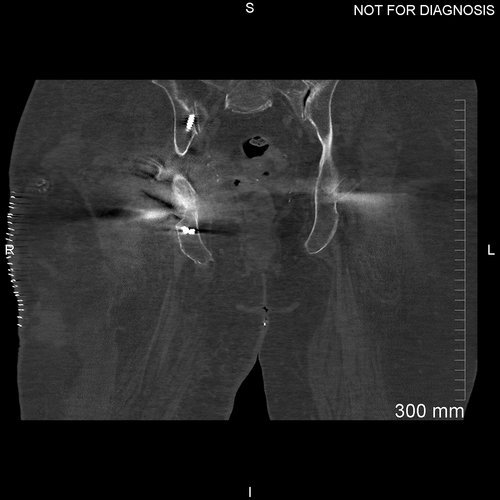
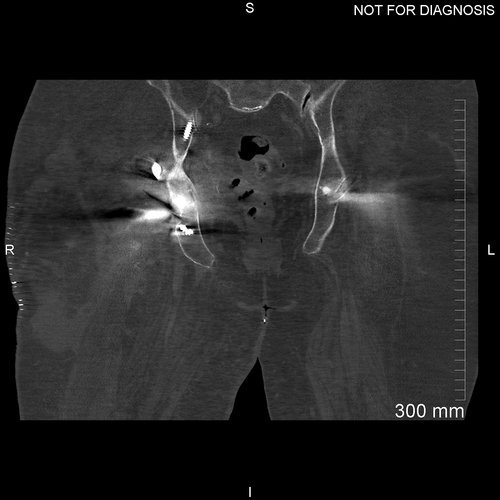
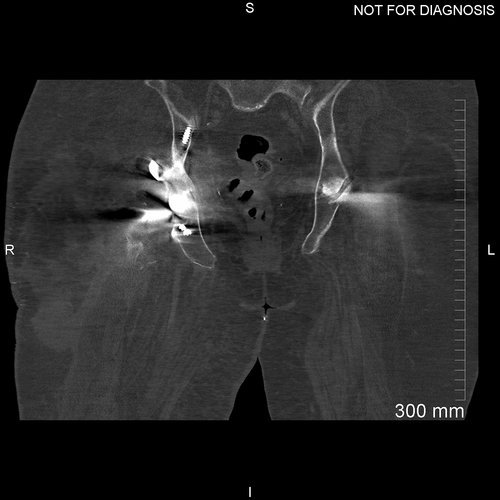
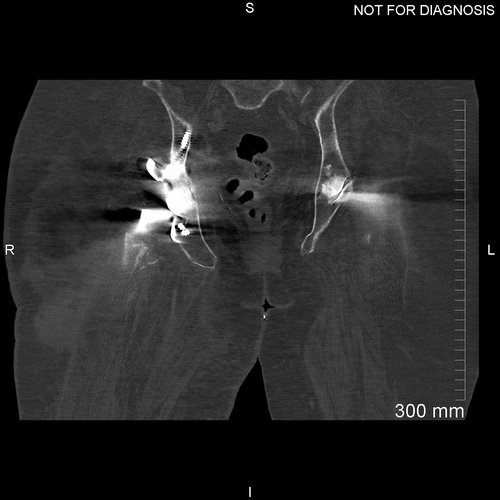
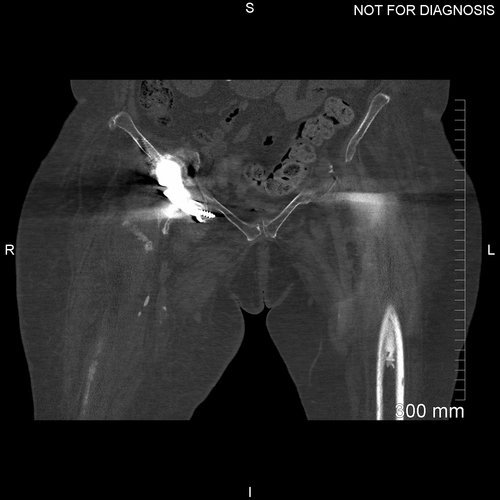
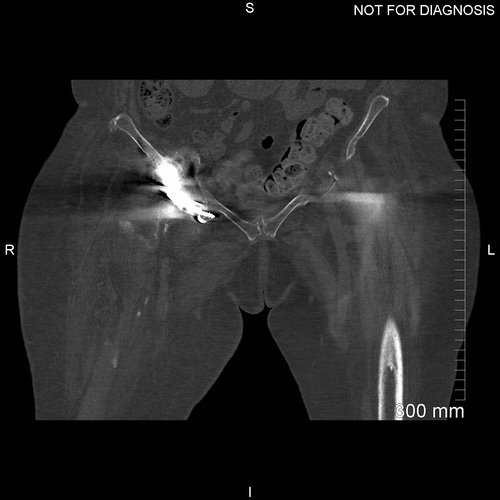
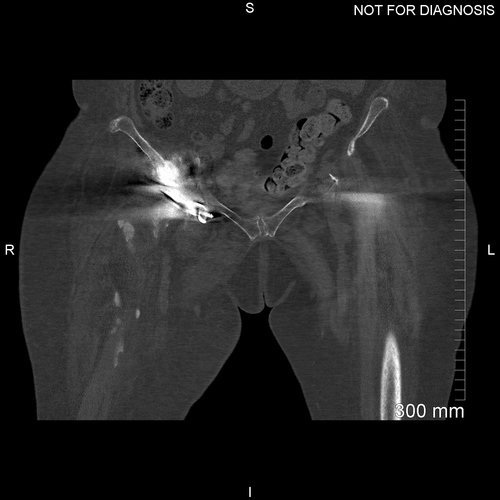
This CT scan was taken after the first stage operation to allow for the planning of a custom made trabecular titanium implant
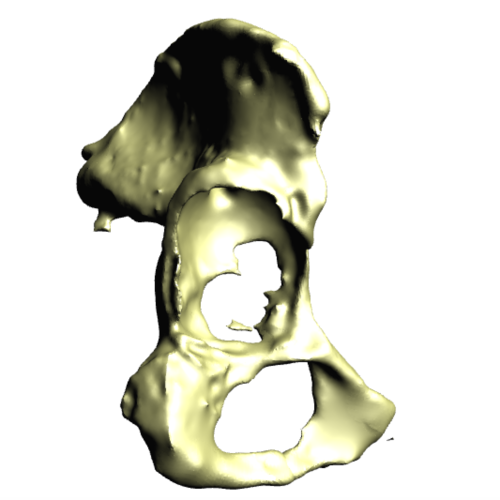
Hemipelvic defect - This is a 3D model of the patients hemipelvis, which has been reconstructed from the CT scan shown above. This gives a better idea to both the biomechanics engineer and the surgeon about the size of the defect they are working with and allows them to design an implant to reconstruct the acetabulum.
Treatment Stage 2
The second stage of the procedure included implantation of the custom acetabular component.
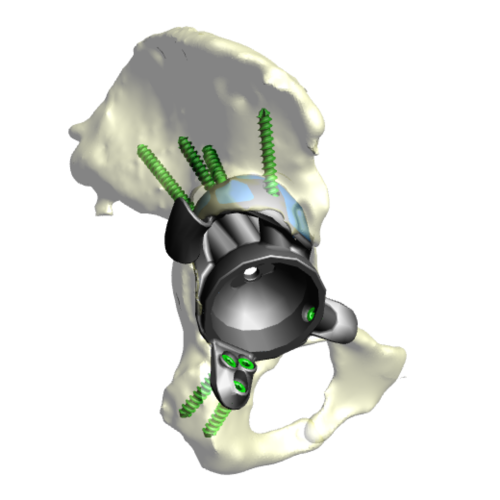
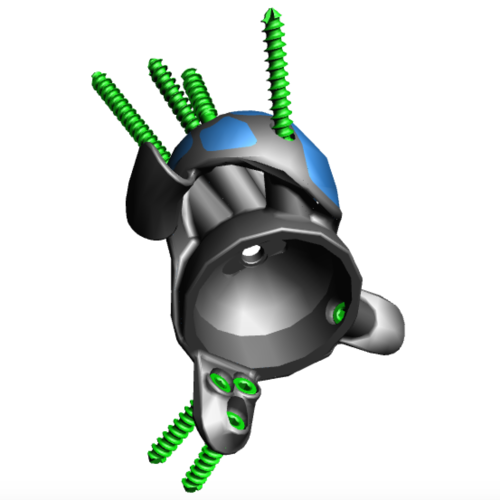
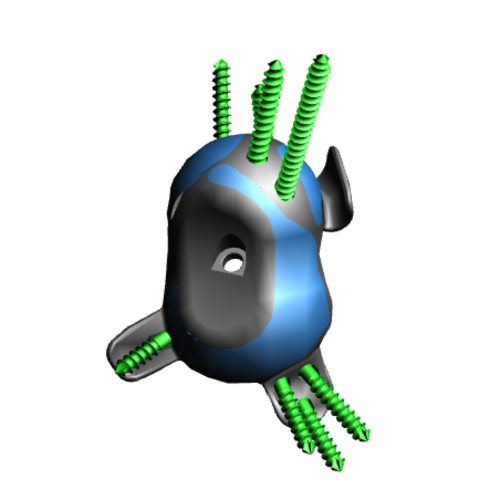
This series of images shows the 3D design of the implant created specifically for this patient. The areas in blue will be manufactured out of trabecular titanium to encourage bony ingrowth and osseointegration of this implant

This image shows the structure of the 3D printed trabecular titanium metal used to produce these implants. This is designed to contact the bone to allow for bony ingrowth to occur
The Operation
Key surgical steps:
A posterior approach was used via the old surgical incision
The acetabulum was reamed as per the CT plan
The custom implant was inserted and 4-screws achieved good primary fixation
A dual mobility bearing was inserted
Restoration stem
Good stability and good length intraoperatively
Wash, suture and clip
The Outcome
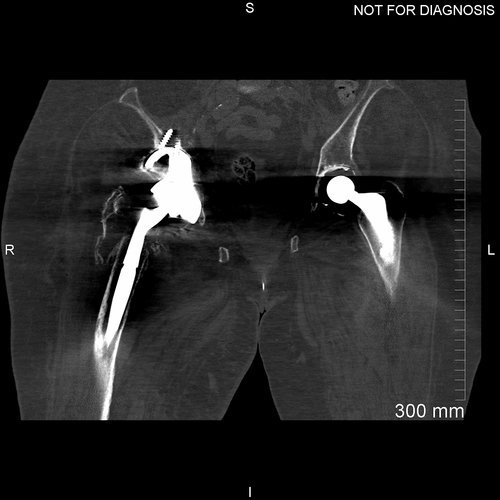
Post-operative radiograph taken one day after the procedure to check the positioning of the implant. Note the surgical clips above.


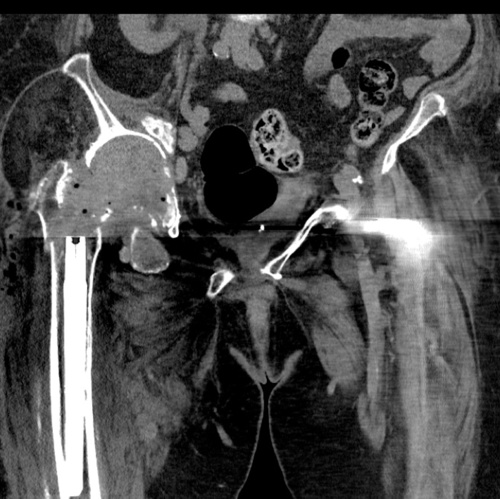
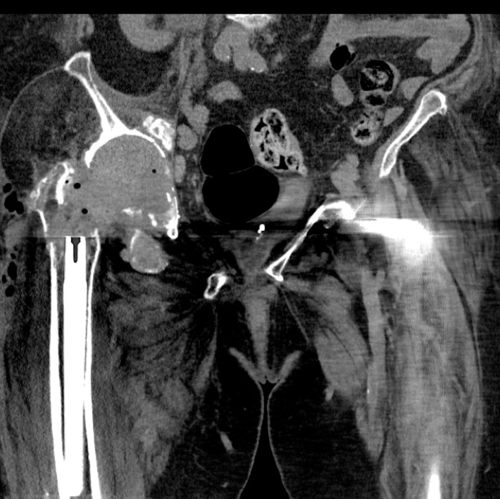
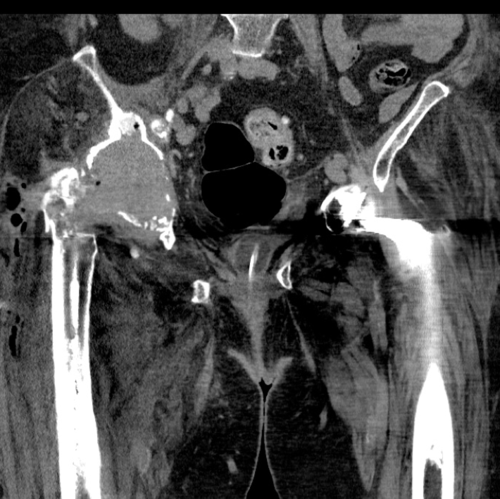
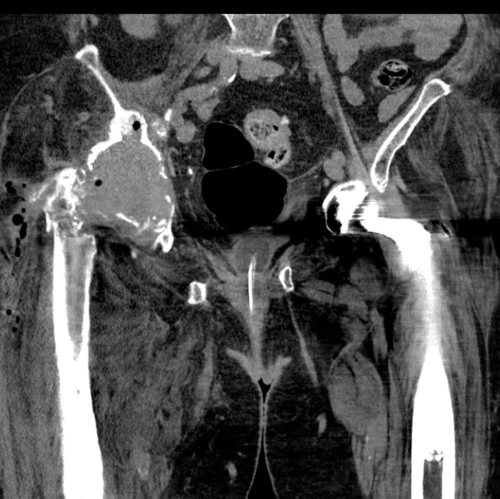
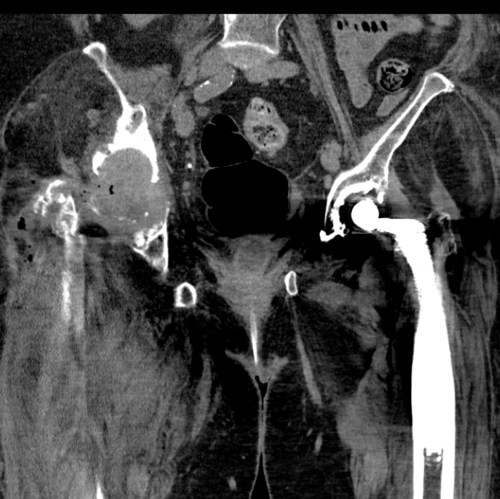
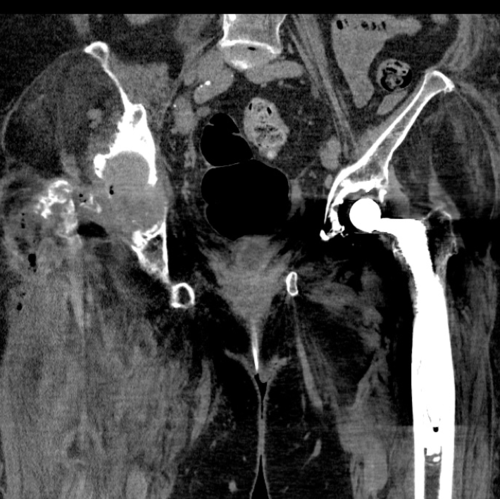
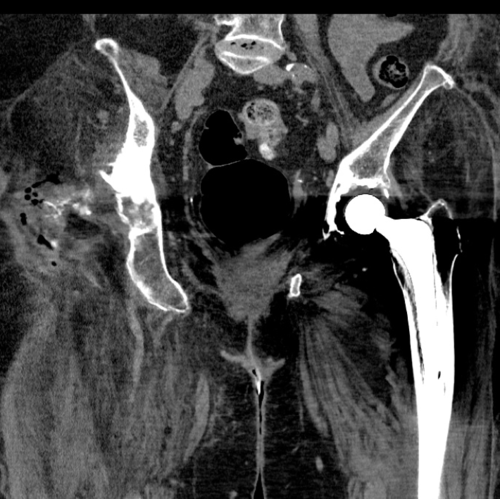
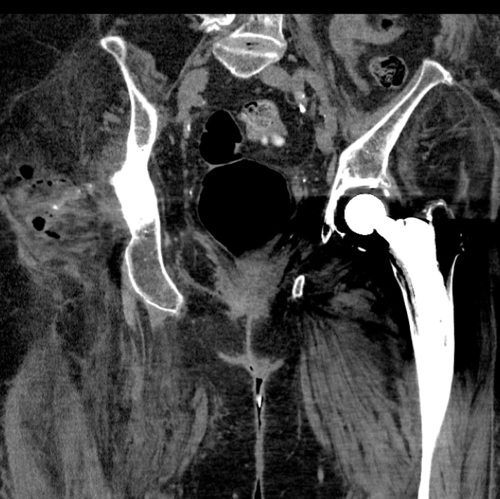
Post-operative CT scan taken two days after the procedure to assess the positioning of the implant.
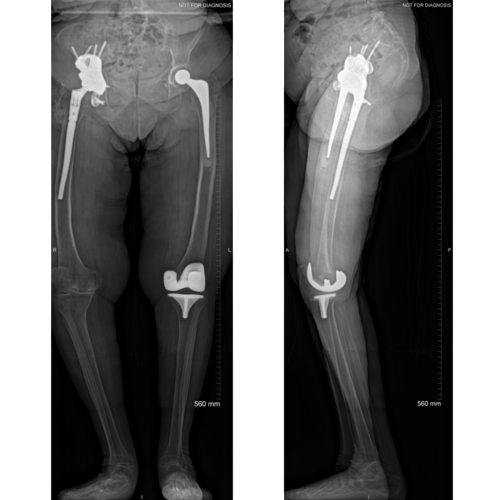
Post-operative EOS showing the functional position of the final implant. Note the left knee replacement. The right knee is slightly varus however the pelvis is also tilted down on the left side.

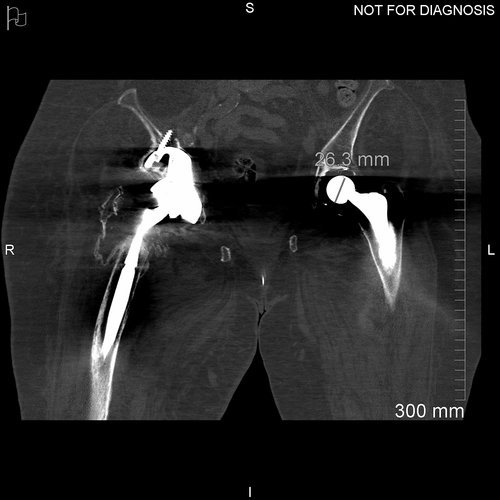
Post-operative radiograph taken 6-weeks after the procedure. There has been no movement of the acetabular implant in this time and the fixation is solid
The Verdict
“A two-stage procedure is sometimes required to obtain adequate CT scan imaging to be able to design a custom acetabular implant.
The patient returned to clinic at 10-months post-operatively. She was walking with support and her mobility was continuing to improve. The wound had healed well at this point.”